
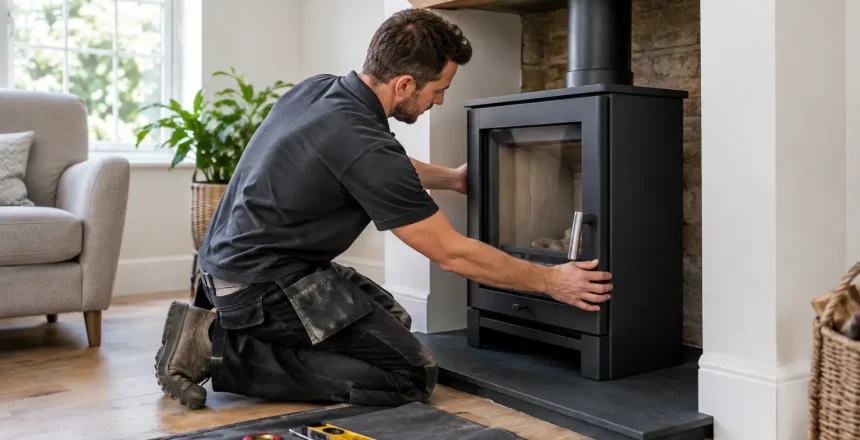
A stove installation should never be treated as a simple case of putting an appliance into an existing fireplace. Correct stove installation sequencing determines whether the finished system is safe, efficient, legally compliant and ready to provide dependable heat for years to come. From the first survey to final HETAS certification, each stage needs to happen in the right order.
For homeowners, that order removes the uncertainty. You know what work is required, why it is required, and when decisions such as hearth size, flue route and stove output need to be made. A professionally managed installation also avoids the costly disruption that can arise when building work or chimney preparation is left until after the stove has arrived.
Why stove installation sequencing matters
A wood burning or multi-fuel stove is part of a complete heating system. The appliance, hearth, chimney or twin wall flue, ventilation and surrounding construction all need to work together. Installing one element without properly assessing the next can compromise both performance and compliance with Building Regulations, including Approved Document J.
For example, choosing a stove before measuring the fireplace opening may leave insufficient clearance around it. Starting decorative work before the flue route is agreed can mean reopening finished walls or ceilings. Equally, assuming an old chimney is suitable without inspection can create delays once the installation is underway.
The right sequence is not about making a project feel drawn out. It is about getting key decisions right once, carrying out the work cleanly, and ensuring the installation can be signed off correctly. Every property is different, particularly older homes, new builds and properties without a usable chimney, so the exact programme will depend on the survey findings.
Stage one: survey the room, chimney and intended use
The survey is where a safe installation begins. A HETAS registered engineer will assess the room, the proposed stove position and the route for removing combustion gases. Where there is an existing chimney, this includes checking its condition, dimensions and suitability for lining. Where there is no chimney, the survey focuses on a twin wall stainless steel chimney system and the most practical route through the property and roof.
The engineer will also discuss how you intend to use the stove. Is it intended as a focal-point fire for occasional evenings, or a meaningful source of heat during the colder months? That answer helps determine an appropriate heat output. An oversized stove can make a room uncomfortably hot and encourage inefficient operation, while an undersized appliance may not deliver the warmth you expect.
This is also the right time to identify practical constraints. The room layout, combustible materials, floor construction, ceiling height and external roofline can all affect the design. If your property is in a Smoke Control Area, the appliance must be suitable for lawful use there. Listed buildings and certain conservation settings may require further checks before work starts.
Stage two: agree the stove, flue route and hearth design
Once the survey has established what the property can accommodate, the installation specification can be agreed. This is the point to confirm whether you are choosing a supply-and-fit service or asking an installer to fit a customer-supplied stove. In either case, the appliance must be suitable for the planned system and installed in accordance with the manufacturer’s instructions and relevant regulations.
The flue route should be confirmed before any opening-up or finishing work takes place. A straight, well-designed route is generally preferable, but the best route depends on the building. An existing chimney may be lined from the top down, while a new twin wall system may run internally through floors and the roof, or externally up an outside wall. Internal routes can retain more heat within the home, whereas an external route may sometimes reduce internal building work. Both need careful design and adequate clearances.
Hearth planning belongs at this stage too. The hearth must provide a stable, non-combustible base and meet the required dimensions for the appliance and installation type. Its construction depends on whether the stove is designed to keep the floor beneath it at a safe temperature. This is not simply a decorative choice: the finished hearth must protect the surrounding structure and provide a proper setting for the stove.
Stage three: complete the preparation and building work
Only after the design is agreed should the physical preparation begin. For an existing fireplace, this may involve opening the recess, preparing the chamber, forming a suitable lintel arrangement where required, and creating the hearth. For a freestanding stove, it may involve preparing the floor and making safe passages for the flue system.
This stage often reveals why an end-to-end service is valuable. A fireplace that looks straightforward from the outside can have irregular brickwork, an unsuitable opening or a chimney breast that needs careful attention before it can receive a stove. Dealing with these findings before installation protects the quality of the finished result.
Ventilation is considered at the same time. Modern homes can be particularly airtight, and some stove installations need a dedicated air supply to support safe combustion. The requirement depends on the appliance output, the property and the presence of extract ventilation. It should be assessed professionally rather than guessed at after the stove is fitted.
Stage four: install the chimney liner or twin wall system
With the room prepared, the chimney liner or twin wall flue system can be installed. In a traditional chimney, a correctly sized liner helps guide gases safely to the terminal and supports reliable draw. The existing chimney is not automatically the flue itself; it needs to be assessed as a route for a suitable liner and installation system.
For homes without a conventional chimney, a twin wall insulated stainless steel system provides a purpose-designed alternative. It must be supported correctly, maintain prescribed clearances from combustible materials and terminate at a position that allows gases to disperse safely. The final height and outlet location are technical decisions influenced by the roof shape, nearby structures and manufacturer requirements.
This is not a stage to rush because a flue that is poorly routed or incorrectly sized can affect how the stove burns. The aim is a system that draws consistently, operates safely and sits neatly within the property design wherever practical.
Stage five: fit, test and commission the stove
Once the hearth and flue system are complete, the stove can be positioned and connected. The engineer will check clearances to nearby surfaces, secure the connection, and ensure the installation follows the appliance instructions. The visible finish matters, but it comes after the safety-critical measurements and connections have been confirmed.
Commissioning then verifies that the completed system works as intended. This includes checks on flue performance, smoke integrity and the safe operation of the appliance controls. You should also receive clear guidance on lighting and using the stove, suitable fuel, maintaining a clean burn, and the importance of regular chimney sweeping by a competent sweep.
A new stove may produce a temporary smell during its first few firings as protective coatings cure. Your installer can explain how to manage this process, including ventilating the room appropriately. It is also sensible to have working carbon monoxide alarms in the relevant locations, as required for solid-fuel installations.
Stage six: certification and your final paperwork
The installation is only complete when the compliance process is complete. A HETAS registered installer can self-certify eligible work and provide the appropriate certification, giving you evidence that the installation has been completed to the required standard. Keep this paperwork safely with your property documents. It can be useful for insurance, future sale enquiries and your own peace of mind.
If an installer is not registered under a competent person scheme, Building Control involvement may be required instead. That can add a separate process and potential cost, which is why many homeowners prefer a HETAS registered specialist from the outset.
How homeowners can keep the programme on track
Good preparation helps the installation run smoothly. Before the survey, think about where you want the stove, how the room is used and whether you have a preferred style. Be open about any planned decorating, flooring or structural work, as these may need to be sequenced around the installation.
Once a date is agreed, clear the working area and make sure the installer has access to the fireplace, loft space, roof access where applicable, and the proposed flue route. Avoid arranging final decoration until the construction and fitting stages are confirmed complete. This gives the installation team the space to work properly and helps protect the finished appearance.
At Stove Specialists UK, a fully managed approach means the survey findings, building work, flue design and certification are considered as one job rather than a collection of disconnected tasks. That is how we deliver a practical, compliant installation with 100% peace of mind.
The best time to ask questions is before the first opening is made or the first section of flue is fitted. A clear plan, agreed in the right order, gives you confidence that your new stove will be a source of comfort rather than an unexpected project.